Smithworx Blog

Monday
Dec032012

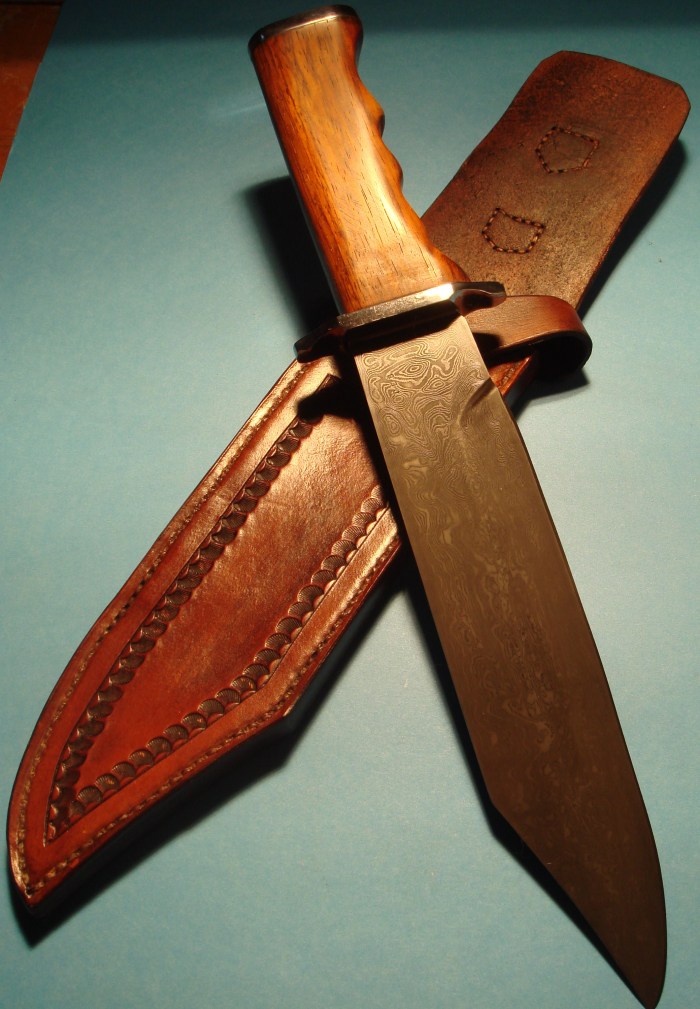
Drop Tip Maple Hunter

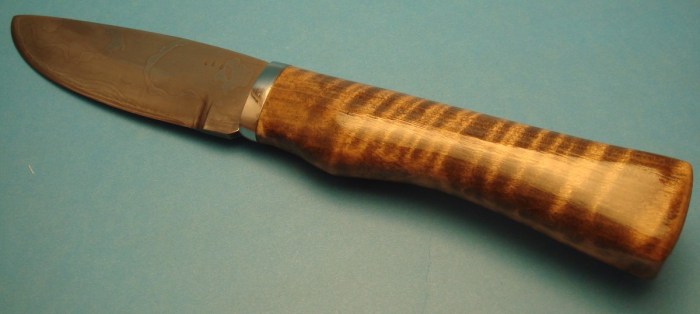
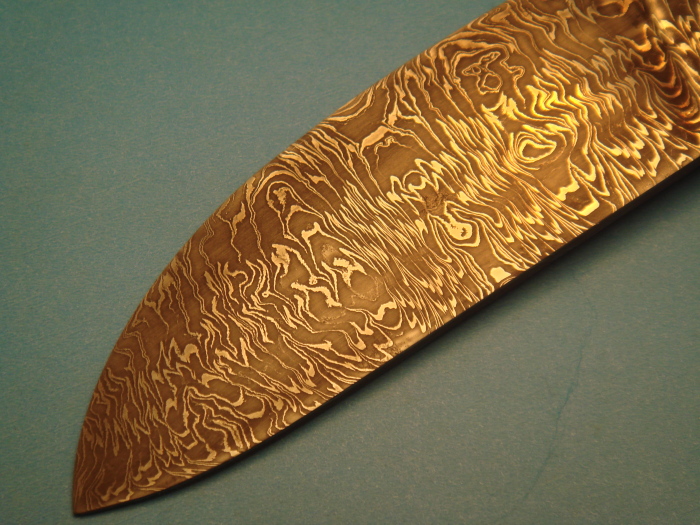
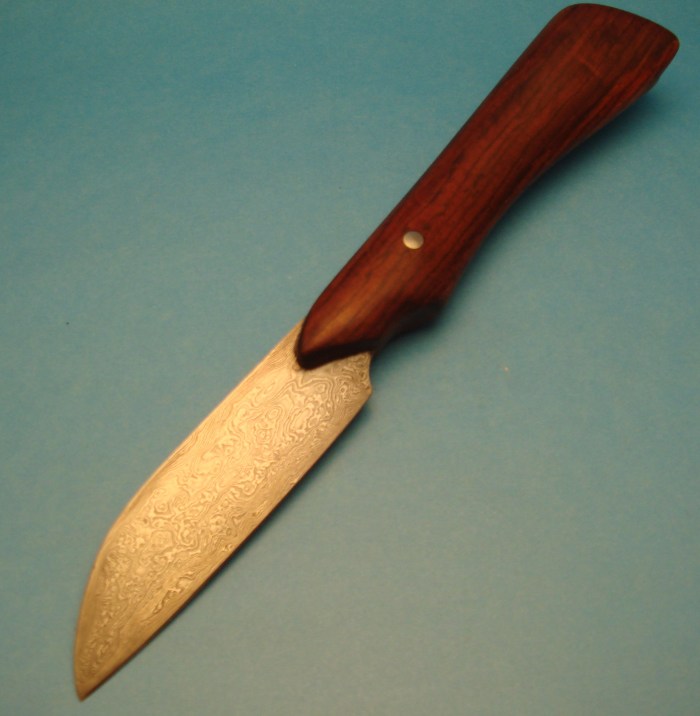
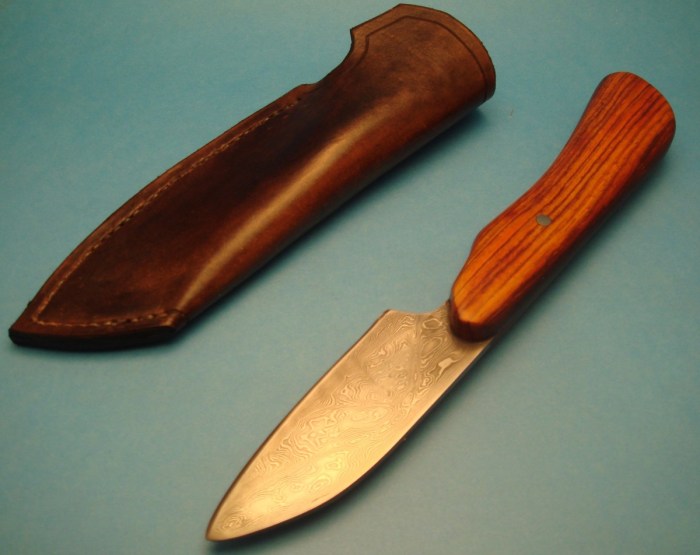
There was a fair amount of experimenting going on for this blade.  A friend was over helping with the forge welding and we ran out of time for multiple heats, so I decided to try making the blade with a 9 layer count to see what would result.  The pattern is VERY course, and the hardness line is quite visible.  It was tricky to buff the bright lines without also buffing some of the dark steel as well.  I was very happy with the blade shape itself, just the right amount of drop for the point.  The curly maple handle was also new for me - it makes a beautiful handle, but it is challenging to get the shaping and polishing done at the interface with the guard.  If the guard is pre-polished, then you risk scratches while finishing the handle, and if you are removing scratches from the guard, you risk staining the light maple with buffing compound.   Judicious use of painters tape to try and keep the two areas separate during work seemed to be the best approach.  All in all, some interesting results!

Tuesday
Sep112012

Large Bowie with Sheath

I just completed this Large Bowie project for a customer that was looking to get a large size Bowie that had the performance properties of carbon steel.  He previously had a factory Bowie of a similar size, but had problems with maintaining the edge, and some of the fittings had loosened.


The Bowie pictured above is the final result.  The steel is 432 layer random damascus made up of 15n20 and 1095 carbon steel.  I initiated some of the random pattern by putting a few grooves into the billet surface before I forged the bar to the final knife shape.  The blade is 9 1/4 inches long, and the handle/guard assembly is 5 1/2 inches.


I also hand tooled and hand stiched the leather sheath.  The leather is 6 layers thick at the mouth in order for the guard to sit nicely.  I also seperated the snap rivet from the inside of the sheath by a full layer of leather to insure no scratching of the knife surface.  The stiching was pretty tricky, about 20 feet of waxed linen thread.  I only broke one needle in the process, although I switched to stronger harness needles early in the project to make sure they would stand up to the abuse.


Without a doubt, this is the best knife I have ever made, and I'm really happy with the final result.  It makes me really look forward to my next project.

Monday
Aug062012

W Damascus Project

Not long after returning from the Hope, Arkansas where I attended the Introduction to Knifemaking class put on by the American Bladesmithing Society, I decided to try my hand at 'W' Damascus.  As you can see from earlier entries, Damascus steel is what I am keenly interested in.  The billet used for this knife was a 18 x 32.  I started with 9 layers of alternating 15n20 and 1095 carbonsteel, forgewelded and folded to make 18 layers, then turned on its edge and folded and welded 5 times for 32 layers resulting in the 18 x 32 billet.  I used the cut and fold technique which is very fast for forge welding, but I think it would work better with a press rather than a power hammer.  I then cut wedges from the billet, reheated to forgewelding temperature and straightened/flattened the billet to reveal the 'W' pattern on both sides.  


Once I had the bar completed I proceeded to forge a knife, but at the time, I was a little unhappy with a couple of flaws in the damascus.  Recently, I decided that I wanted to see the pattern in the form of a finished knife, so I spent a considerable amount of time on the grinder to remove flaws in the steel and get a smooth and pleasing to the eye knife shape and surface.


The result it the W damascus knife (you can see the full knife in the recently completed projects area on the knives page, or in the portfolio area).


I'm going to try doing some more 'W' damascus projects soon, sinve a good 'W' technique is required to eventually produce feather damascus.  It might be a long time in process, but the pattern speaks for itself!

Tuesday
Mar272012

Tear Drop Damascus

The knife above was forged from 180 layer teardrop/raindrop damascus composed of 1095C and 15n20 steel.  It has a hidden tang construction with one stainless pin and a cocobolo handle. 

In this case, I produced the tear drop billet first and then made the knife.  In terms of making the knife, it was the same process as any other hidden tang knife; grab a bar of steel, forge to shape, grind to thickness and finish, heat treat, etch and add handle.  (It all sounds SO easy like that!)

To make the teardrop, I forge welded a billet to 180 layers, about the size and thickness of a chocolate bar.  I then annealed the bar, and drilled a wack of holes into the bar of various sizes and with random placement.  In general I was mostly using a 1/4 inch drill bit.  The bar was about 1 inch thick, and I never drilled more than 3/8 inch into the bar.  After all the drilling was done, I went back over each of the holes and champhored the edges with larger size bits.  Basically, you don't want any straight 'holes'.  Steep walls will make a small teardrop while more gradual walls will make a larger teardrop.  Once all that is done, bring the billet back to forgewelding heat and forge the surface back to flat and draw the bar out to the length/width that you are looking for.  Drawing the bar out lengthwise only will elongate your teardrops.


When you make your blade, it's best to forge the blade to shape and thickness.  The teardrops are at the surface of your billet, so excessive grinding has the potential to remove them entirely.  In the case of my blade above, it looks more like pools and eddies and not discrete 'teardrops' - although it is clear that the pattern disappears as the grind moves toward the edge.

Tuesday
Mar272012

Fun with Ladder Technique

The knife above is composed of 180 layer 1095C and 15n20 steel, hidden tang with cocobolo handle and one stainless pin.

For this knife, i forged the blade to shape, but left the billet at its full quarter inch thickness.  I then cut a half starburst pattern into the blade area.  Basically, you can see 4 isotherm  'valleys' in the damascus that point up from the blade edge toward the spine of the blade.  I used an angle grinder to cut these small 'valleys on both side of the blade, making sure the valley edges were quite rounded and 'soft',  I then took the blade up to forge welding temperature and proceeded to complete the forging of the blade, bring the valley floors to the same height as the valley walls and producing the pattern you see above. 

Typical ladder patterns are just verticle lines cut into the steel and then forged to the surface, and there are many variations, such as West Texas Wind, etc. that build on the ladder technique.  I wanted to take this a step further and use the ladder pattern effect to produce another pattern - in this case a half starburst.